
Shop Now
Institutional page for the HOMCOM brand hub.
Quick Answer:
To build easy floating shelves, you need a shelf board, a suitable floating-shelf bracket or support, screws and wall anchors appropriate for your wall, a measuring tape, a level, and a drill.
The basic process is:
The most important part is to treat the shelf, bracket, wall fixing, wall construction, and intended load as one system. A strong bracket cannot compensate for an unsuitable wall fixing or an overloaded shelf.
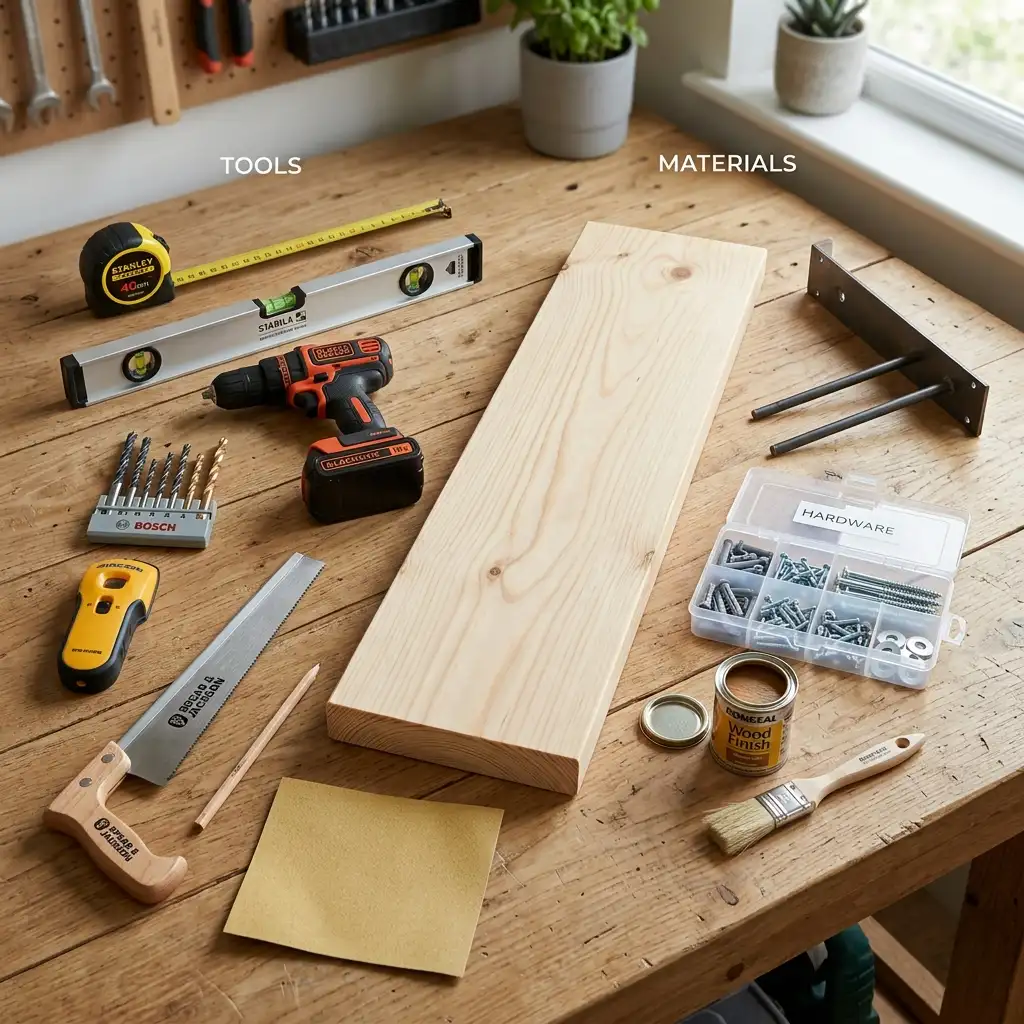
A simple floating-shelf project does not require a full woodworking workshop.
Depending on your chosen design, prepare:
If drilling or cutting creates a risk of flying particles, use appropriate eye protection. OSHA’s eye and face protection requirements address hazards from flying particles and objects.[2]
You will generally need:
The exact screws and anchors depend on the wall. Hardware suitable for a wood stud should not automatically be used for drywall, plaster, brick, or concrete.
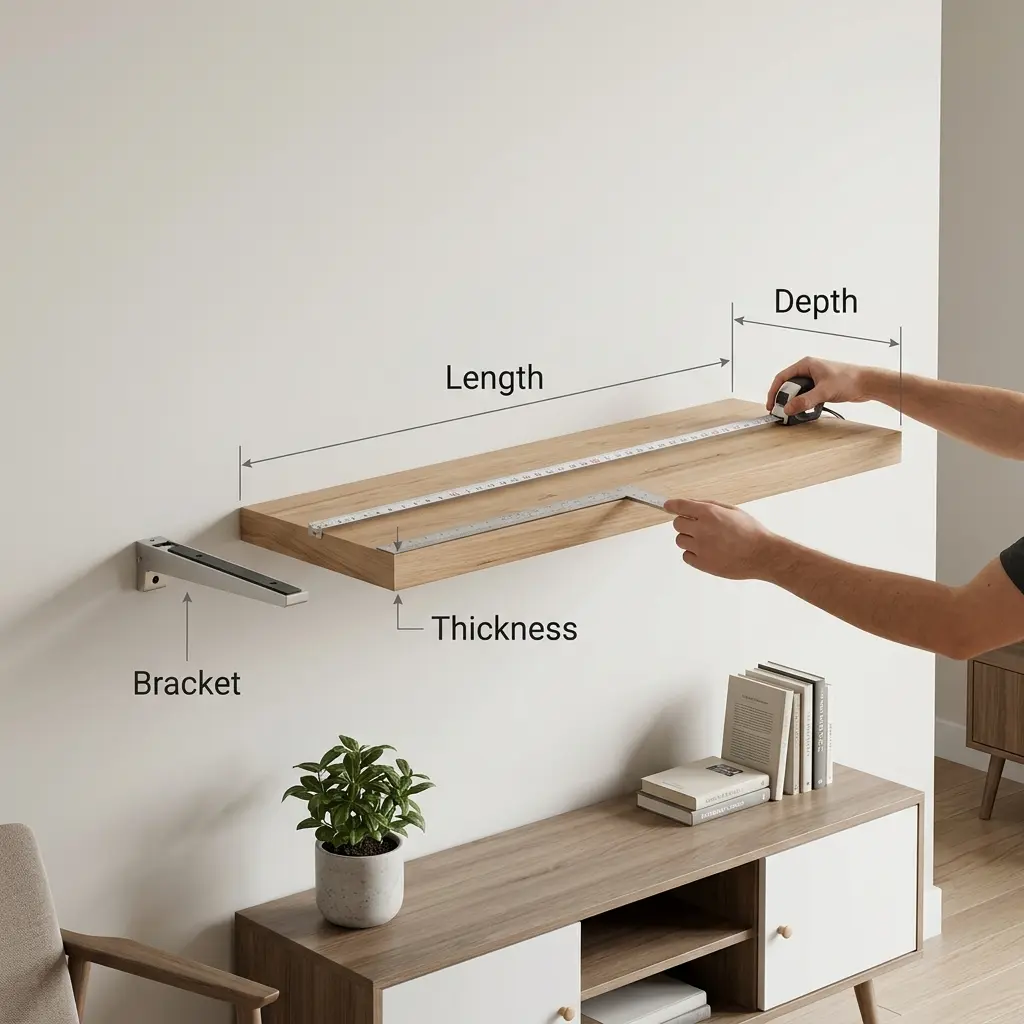
Start by deciding what the shelf needs to hold and where it will be installed.
Consider:
A shallow shelf may be enough for small decorative objects, while books, plants, or larger items may require more depth.
More importantly, choose the bracket before finalizing the shelf dimensions. The bracket needs to be compatible with the shelf’s thickness and depth.
For example, one concealed bracket system is designed for shelves 1.5–2 inches thick and 7–10 inches deep, with a stated capacity of 65 lb per solid rod when correctly installed.[4] These are specifications for that particular bracket system, not universal requirements for floating shelves.
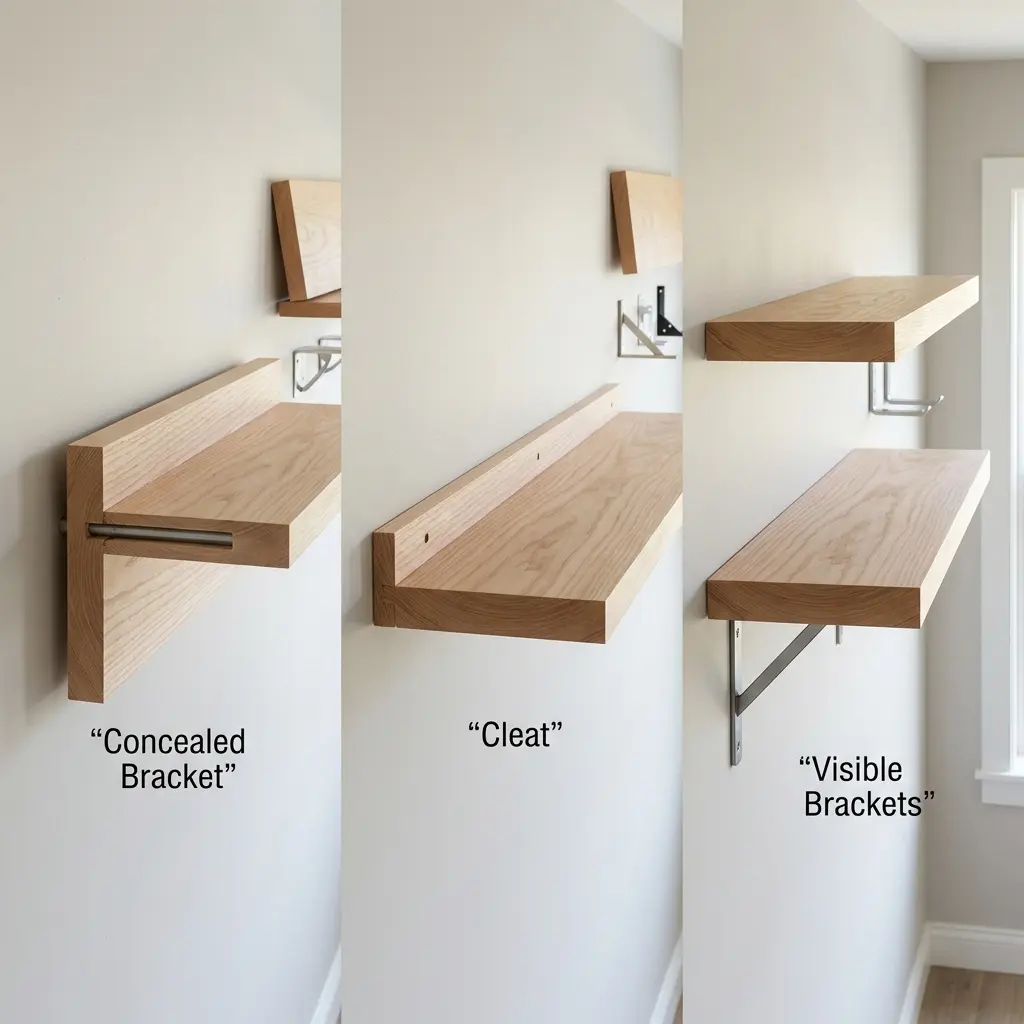
There are several ways to create a floating-shelf appearance.
A concealed bracket hides most of the support behind the shelf.
This is usually the most appropriate choice when you want the clean, floating appearance associated with this style.
Check the manufacturer’s specifications for:
A cleat-style support can distribute the shelf’s mounting connection along a longer section of the wall.
This can be useful when the design calls for broader support, but the cleat and its fasteners still need to be suitable for the wall and intended load.
Visible brackets are another option if completely concealed hardware is not essential.
They can be easier to understand and install, although the support becomes part of the shelf’s appearance.
For an easy DIY project, choose the support system first and then make sure the shelf board matches it.
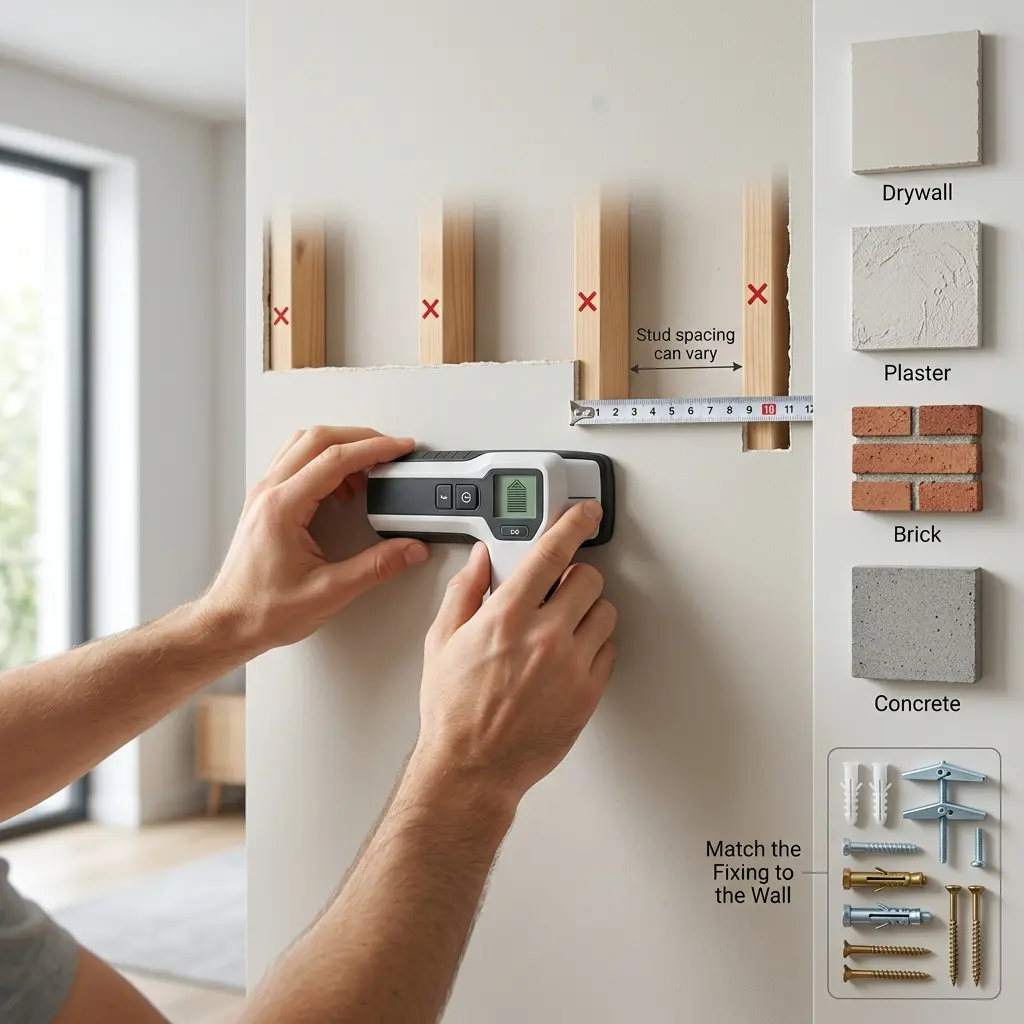
Before drilling, identify what type of wall you have.
Common surfaces include:
The U.S. Consumer Product Safety Commission’s Anchor It guidance recommends checking the wall material and using supplies appropriate for that surface.[1]
For a stud-based installation, use a stud finder to locate the studs and mark their positions.
Anchor It notes that studs in modern homes are commonly spaced 16 or 24 inches apart, although actual construction can vary.[1]
If the desired shelf position does not line up with a suitable stud, do not simply assume that a generic drywall anchor will provide enough support.
Instead, select an anchor system specifically designed for the wall type and intended load.
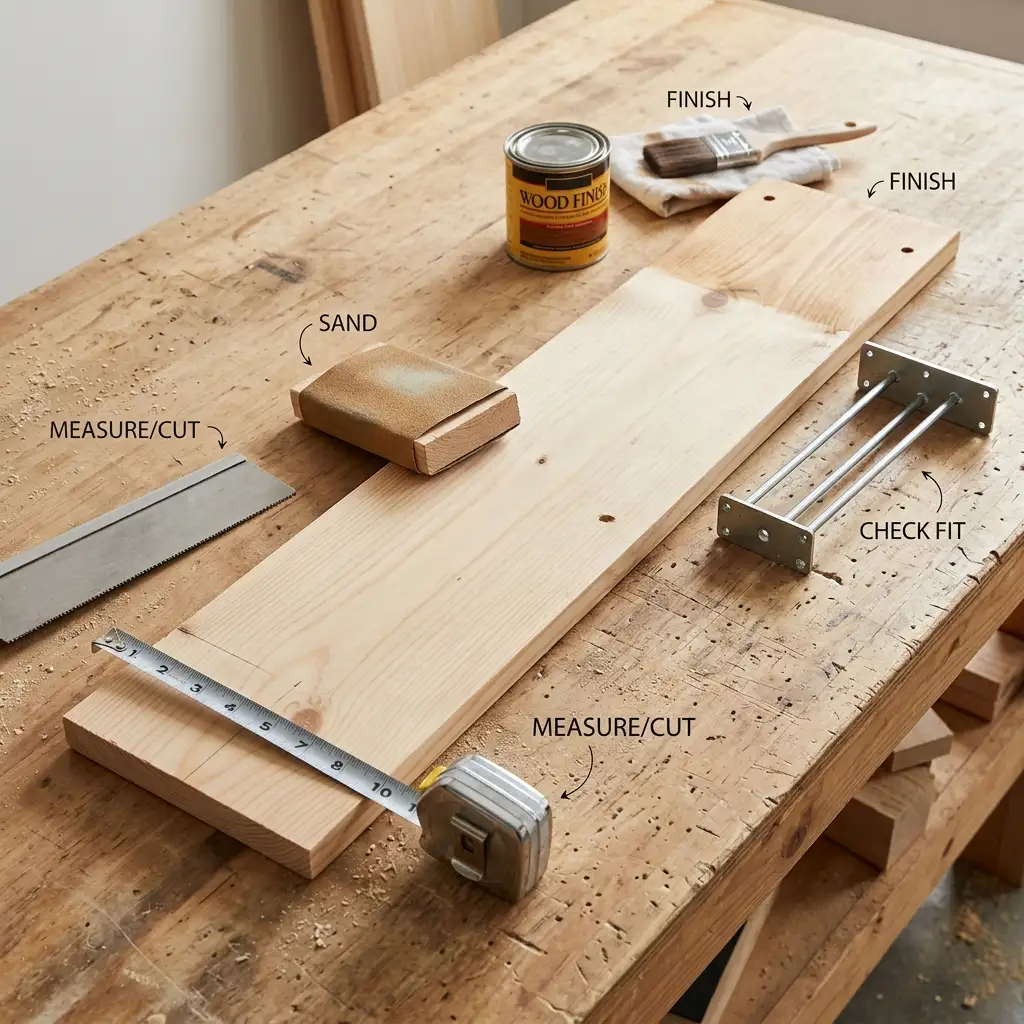
If the shelf board is not already the correct size, cut it to the required length.
Then:
The shelf should match the bracket’s specified thickness and depth.
For example, a heavier-duty concealed bracket currently specifies shelves from 2–3 inches thick and 7–17 inches deep, with a stated capacity of up to 95 lb per solid rod when correctly installed.[4]
This illustrates why there is no single “correct” shelf thickness or depth for every floating shelf. The dimensions need to match the support system.
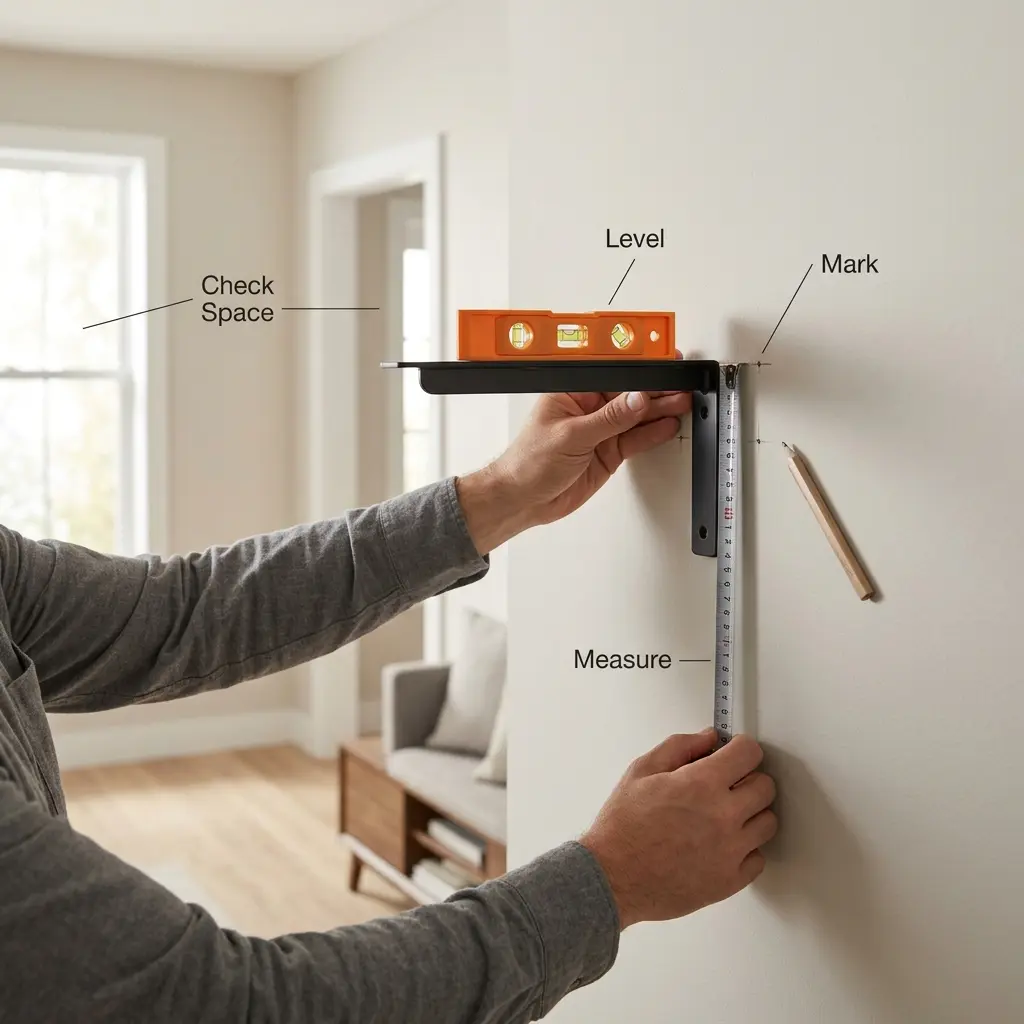
Once the shelf and bracket are ready, determine exactly where the shelf will go.
Use a measuring tape to establish the desired height.
Then:
This is the stage where small measurement errors can become obvious later, so take the time to check the position before drilling.
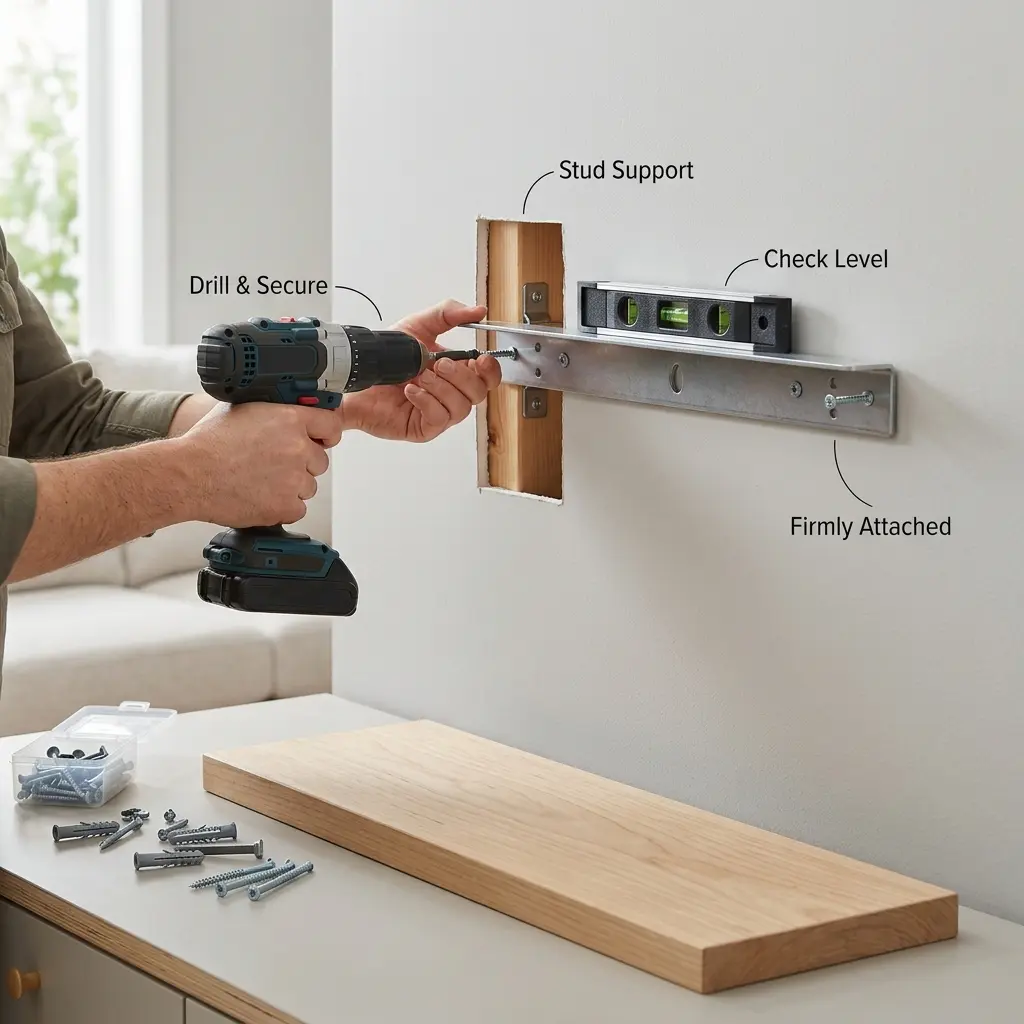
Use the drill bit and fixing hardware specified for your wall and mounting system.
For a stud installation, position the bracket so the fasteners engage the structural support.
For other wall types, follow the anchor manufacturer’s instructions for the required hole size and installation method.
Anchor It’s installation guidance similarly recommends identifying the stud, marking the bracket position, using the drill-bit size specified for the anchor, and securing the hardware into the stud where applicable.[1]
For heavier wall-mounted items, Building America guidance also emphasizes securing equipment and heavy furniture to wall studs or floors rather than relying only on drywall or plaster.[3]
After installing the bracket:
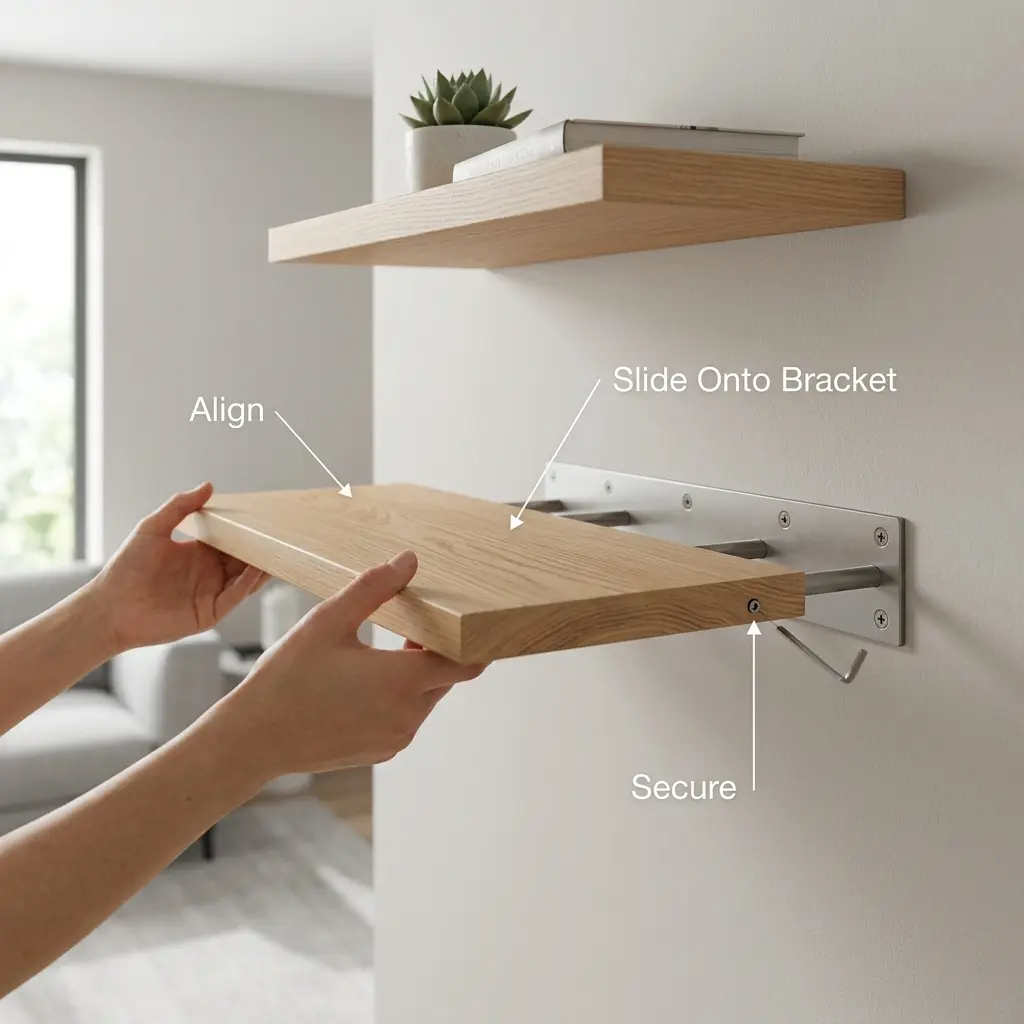
The exact process depends on the bracket design.
For a concealed rod bracket, the shelf may slide over the rods until it sits against the mounting plate.
Some systems use set screws or similar hardware to prevent the shelf from sliding or lifting.
Follow the instructions supplied with the bracket because concealed-shelf systems do not all use the same attachment method.
Do not modify the bracket or shelf simply to make them fit if doing so changes the manufacturer’s specified installation method.
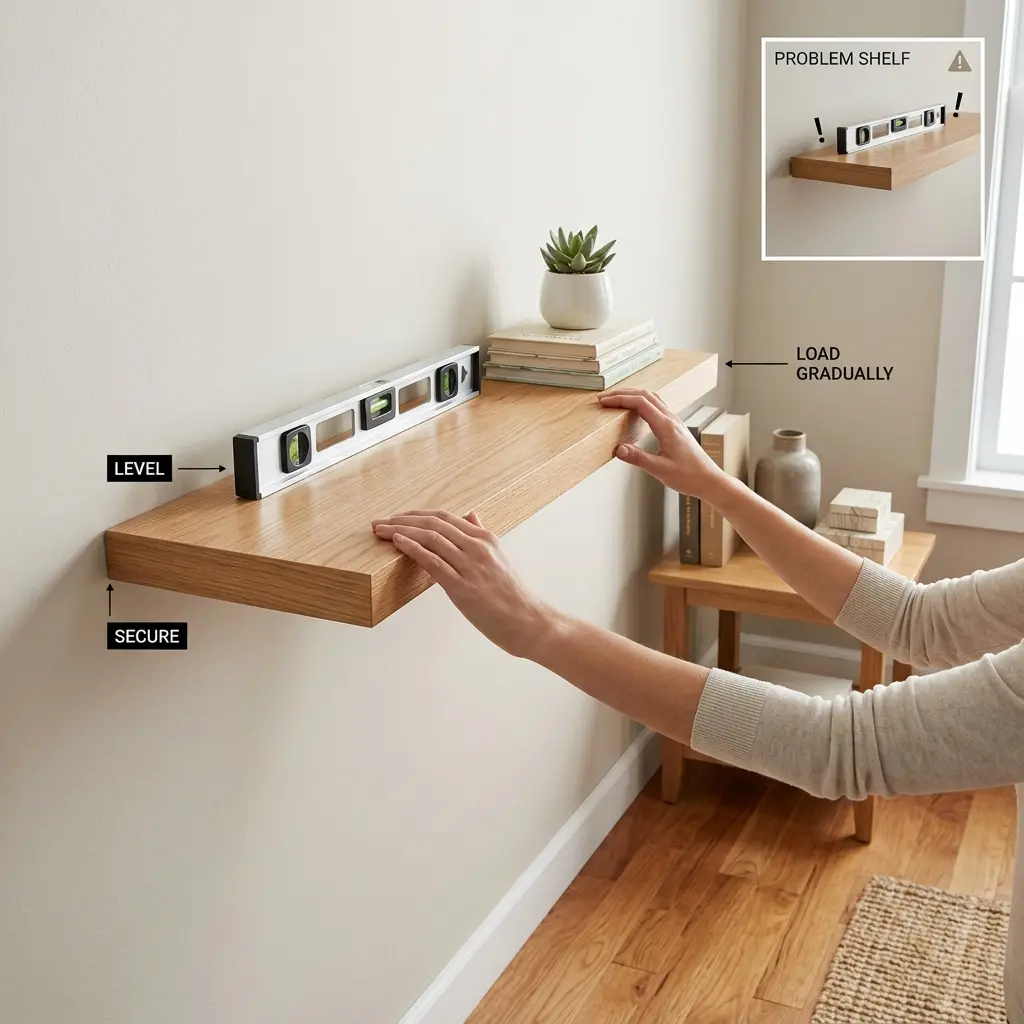
Before putting books, plants, or other objects on the shelf, check the finished installation.
Look for:
The shelf should remain level and stable when lightly checked by hand.
If it moves, tilts, or begins pulling away from the wall, do not load it. Remove the shelf if necessary and inspect the bracket, fasteners, anchors, and wall support.
Start with lighter items and add heavier objects gradually.
Do not use the bracket’s advertised capacity as a universal weight limit. A manufacturer’s rating can depend on factors such as the number of support rods, shelf dimensions, and whether the bracket is correctly installed into studs or blocking.[4]
The safest approach is to follow the verified capacity and installation requirements for the exact shelf support you are using.
A floating shelf becomes much easier to build when you make the main decisions in the right order:
Wall → Support → Shelf dimensions → Mounting position → Installation → Load
Avoid choosing a shelf board first and trying to find a bracket afterward.
Instead, identify the wall and intended load, choose a compatible support system, and then select or cut the shelf to match.
If you want the floating appearance without cutting and finishing your own board, a ready-made floating shelf can also reduce the amount of DIY work. A fully DIY build is more useful when you need a specific size, material, or finish.
Building an easy floating shelf is mainly about getting the installation sequence right.
Choose the wall support, select a compatible bracket, prepare the shelf, mark the position carefully, secure the bracket, attach the shelf, and check its stability before loading it.
The shelf does not need to be complicated. What matters is that every part of the installation is compatible with the next.
Not every floating-shelf system uses the same mounting method, but structural support is an important consideration when the shelf needs to carry significant weight.
For stud-based installations, the mounting hardware should engage a suitable stud. If studs are not available in the desired position, use a wall anchor specifically rated and designed for the wall type and intended load.[1]
There is no universal weight limit for floating shelves.
Capacity depends on the bracket, shelf dimensions, shelf material, number and position of supports, wall construction, fasteners, and installation method.
For example, one manufacturer’s concealed-bracket systems specify 65 lb per solid rod for one model and up to 95 lb per solid rod for a heavier-duty model.[4] These are product-specific ratings, not general floating-shelf limits.
Choose the depth according to what you want to store and how much space the shelf can occupy.
The more important consideration is whether the selected bracket is designed for that shelf depth.
Check the bracket specifications before cutting or purchasing the shelf board.
Possible causes include excessive load, an unsuitable bracket, inadequate wall fixing, incorrect installation, or a shelf that is too deep for the support system.
Remove the items from the shelf and inspect the mounting hardware before using it again.
[1] U.S. Consumer Product Safety Commission — Anchor It: How to Install a Kit
[2] U.S. Department of Labor, OSHA — Eye and Face Protection